
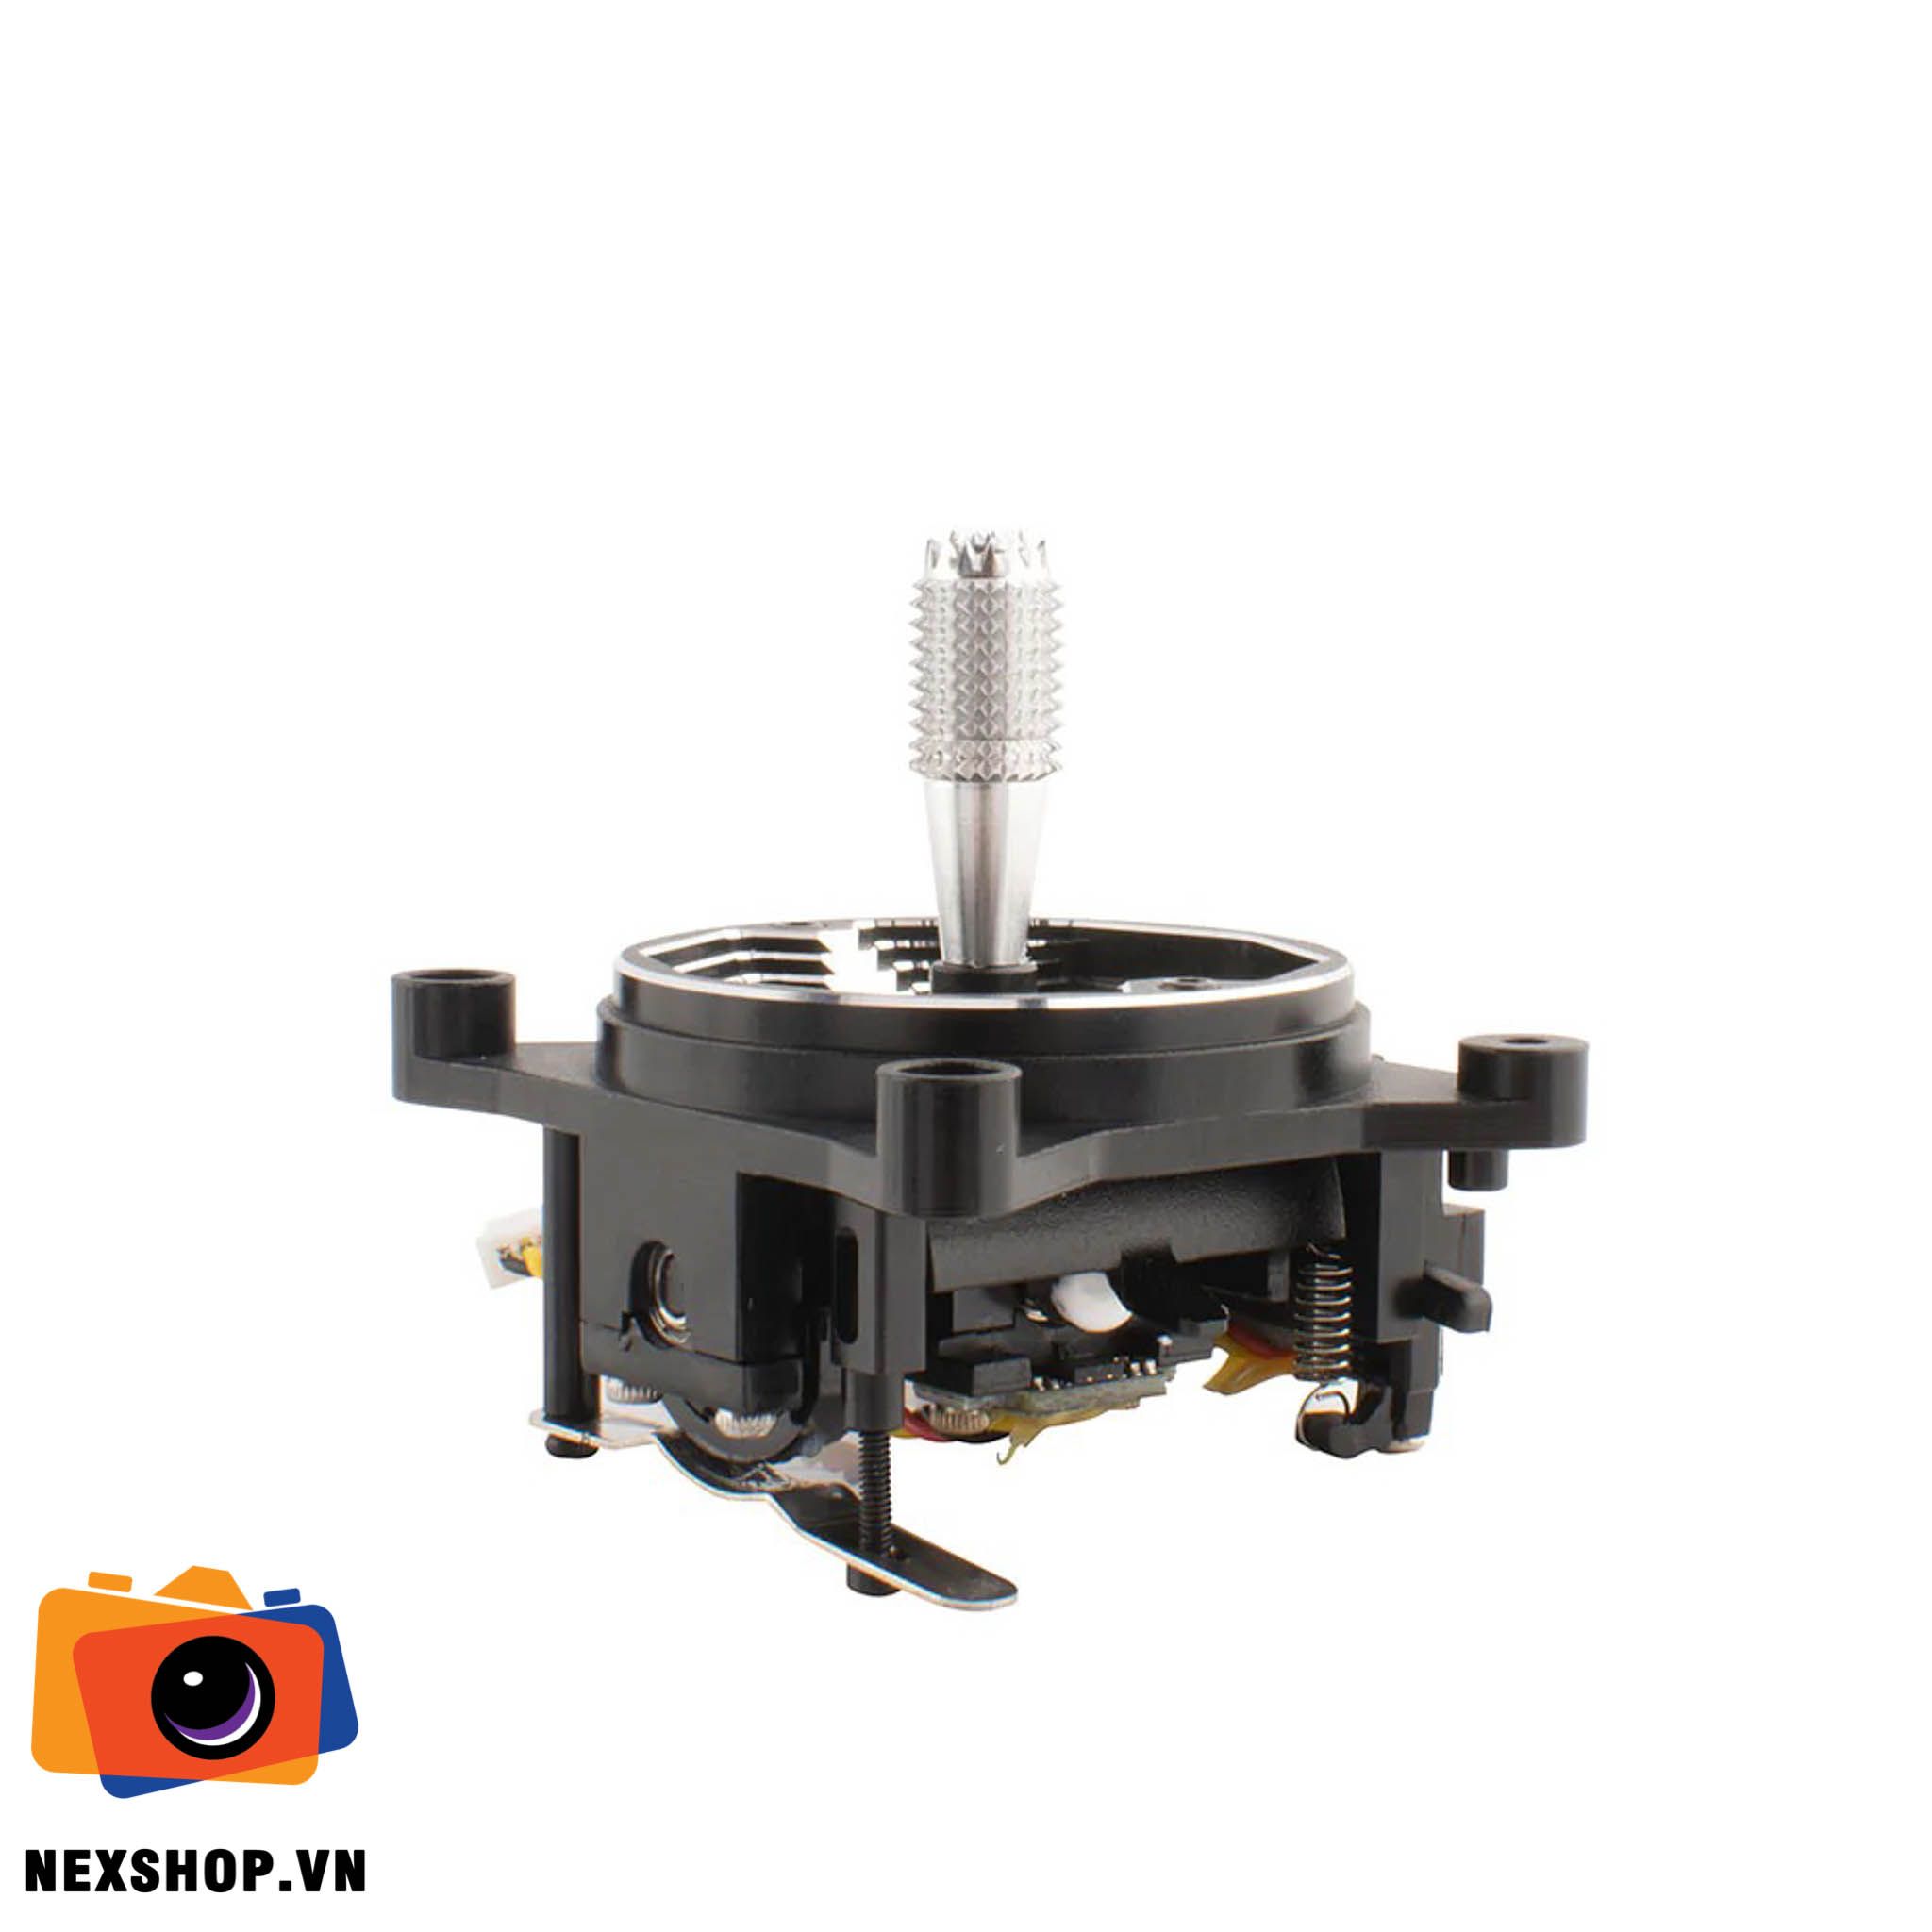
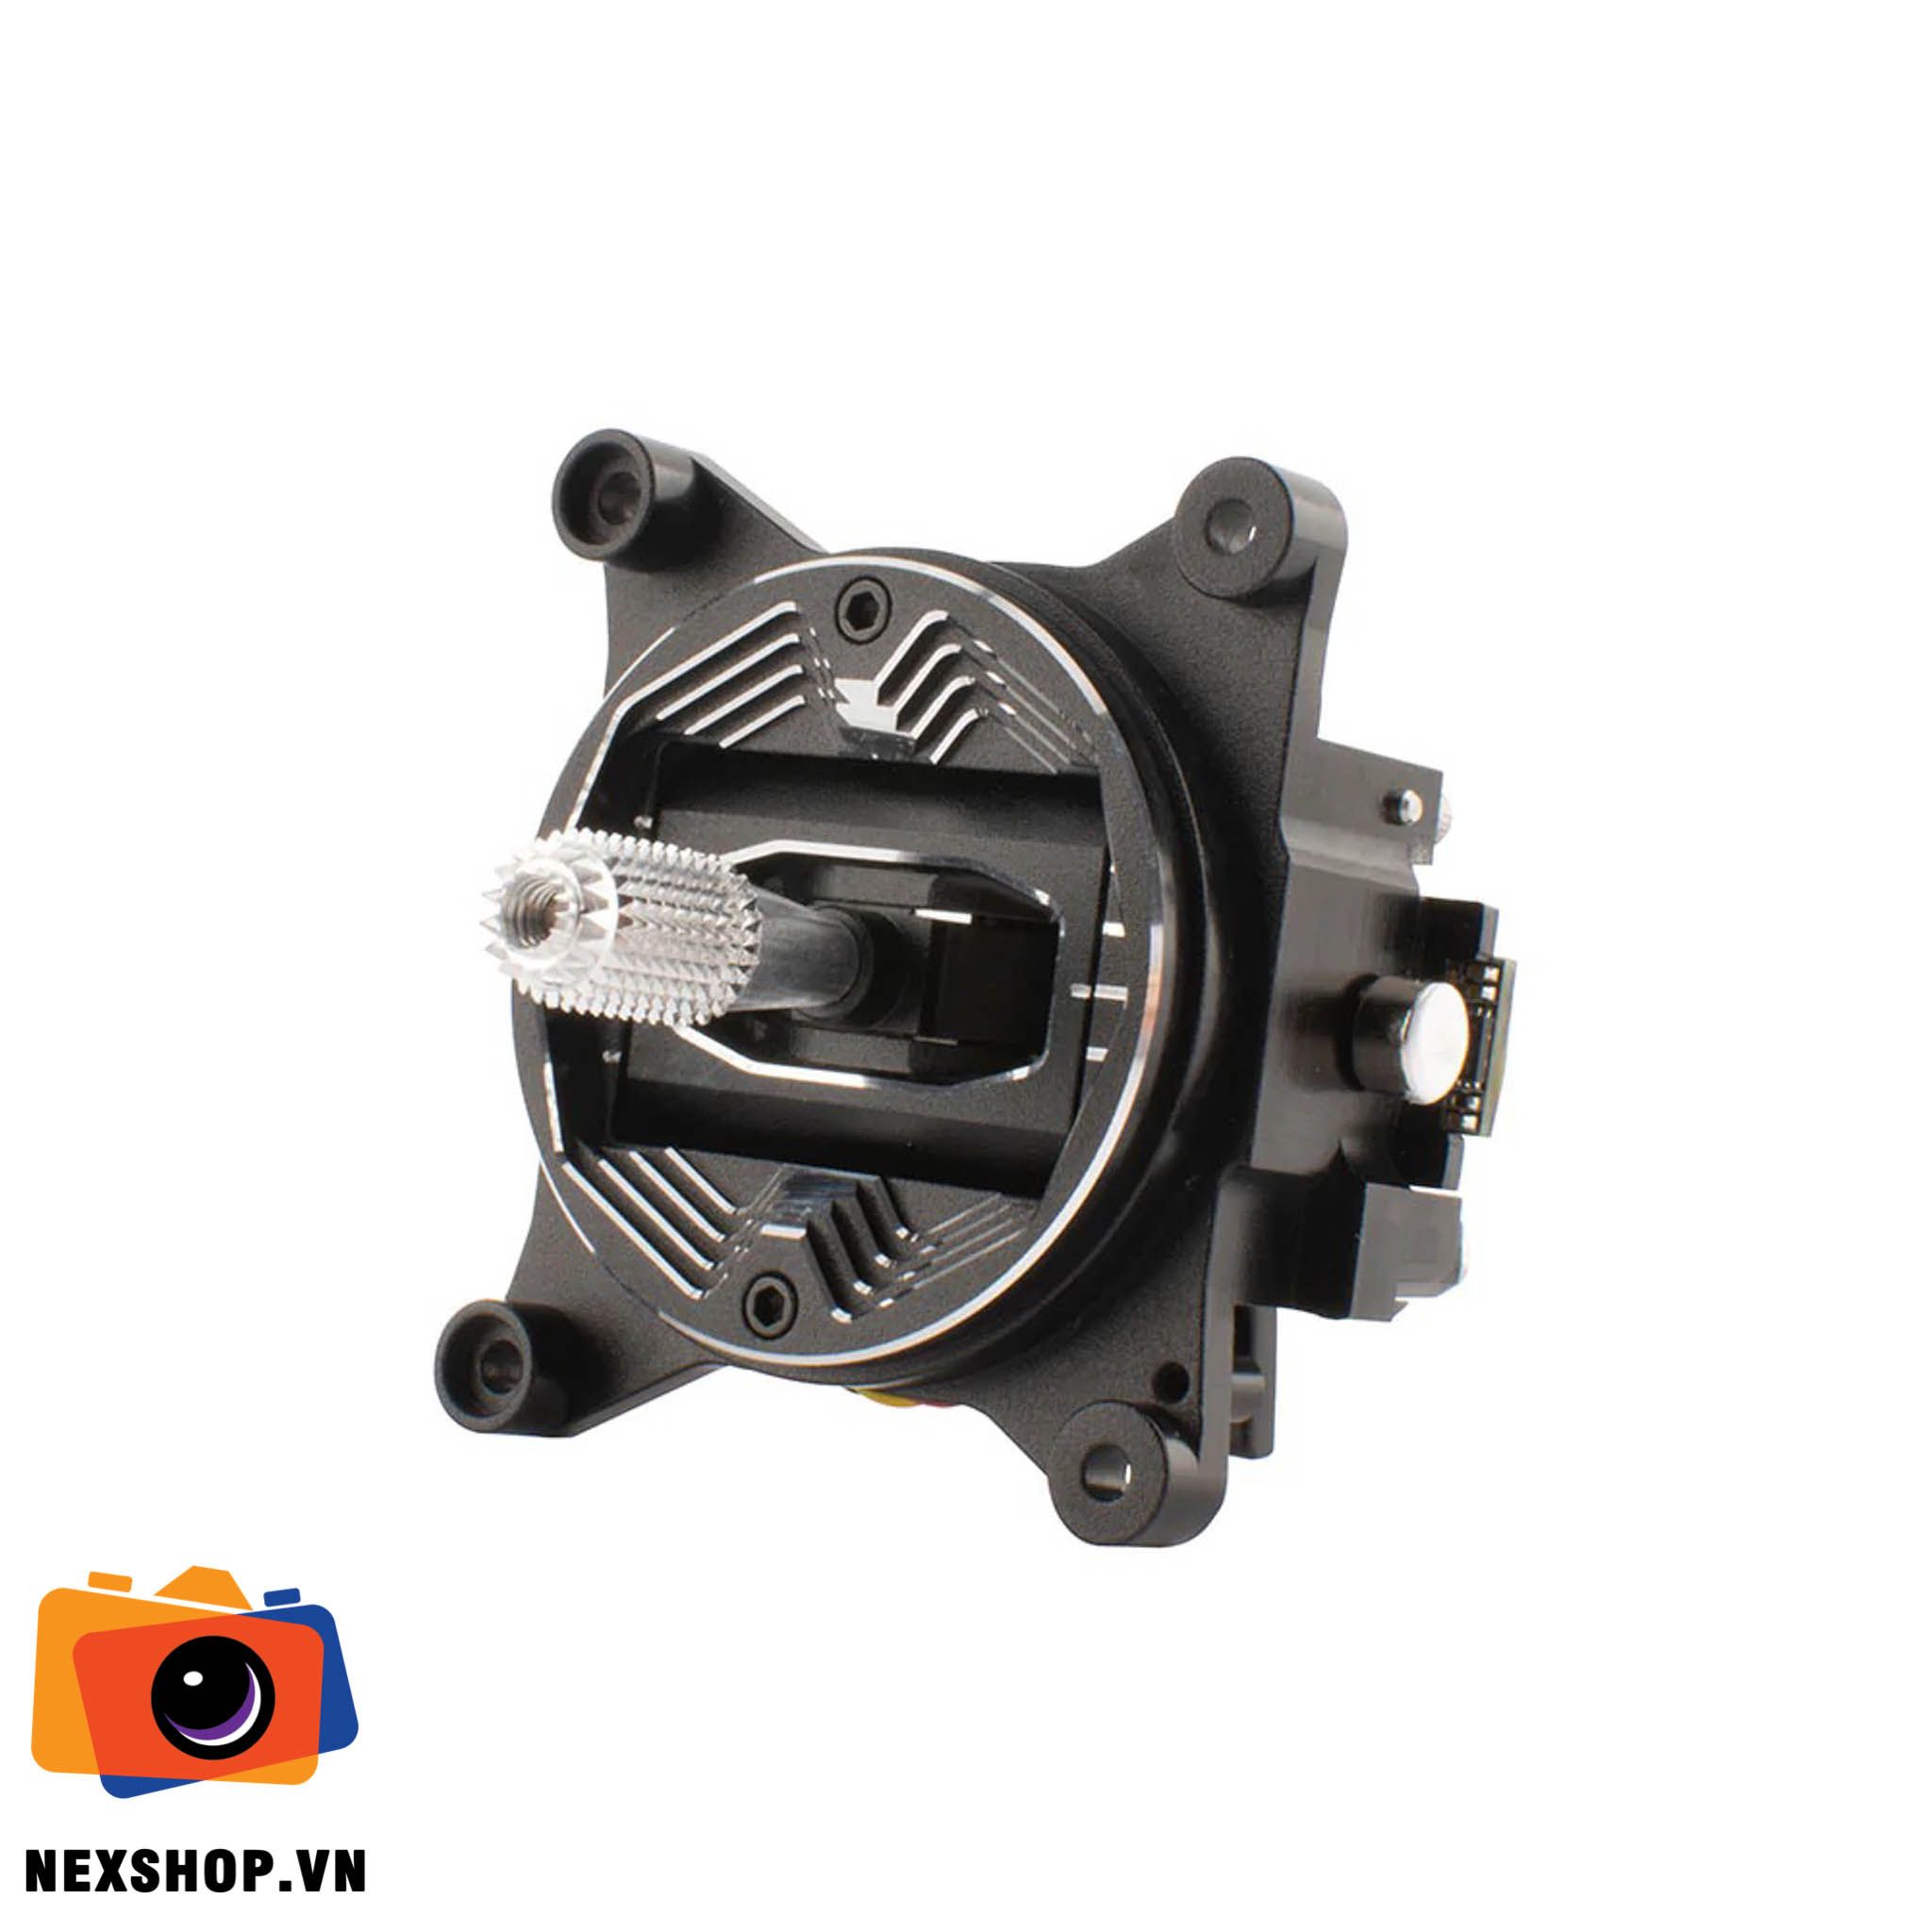


RadioMaster AG01 MINI CNC Hall Gimbal for TX12 / Zorro
Giá bán: 1,650,000 VNĐ
VIDEO mới nhất


Quà tặng kèm có giá trị lên đến : 100,000 đ

Key Features
- Made with CNC processed aviation grade aluminum.
- Sticky360 Mini Gimbal Sticks as standard.
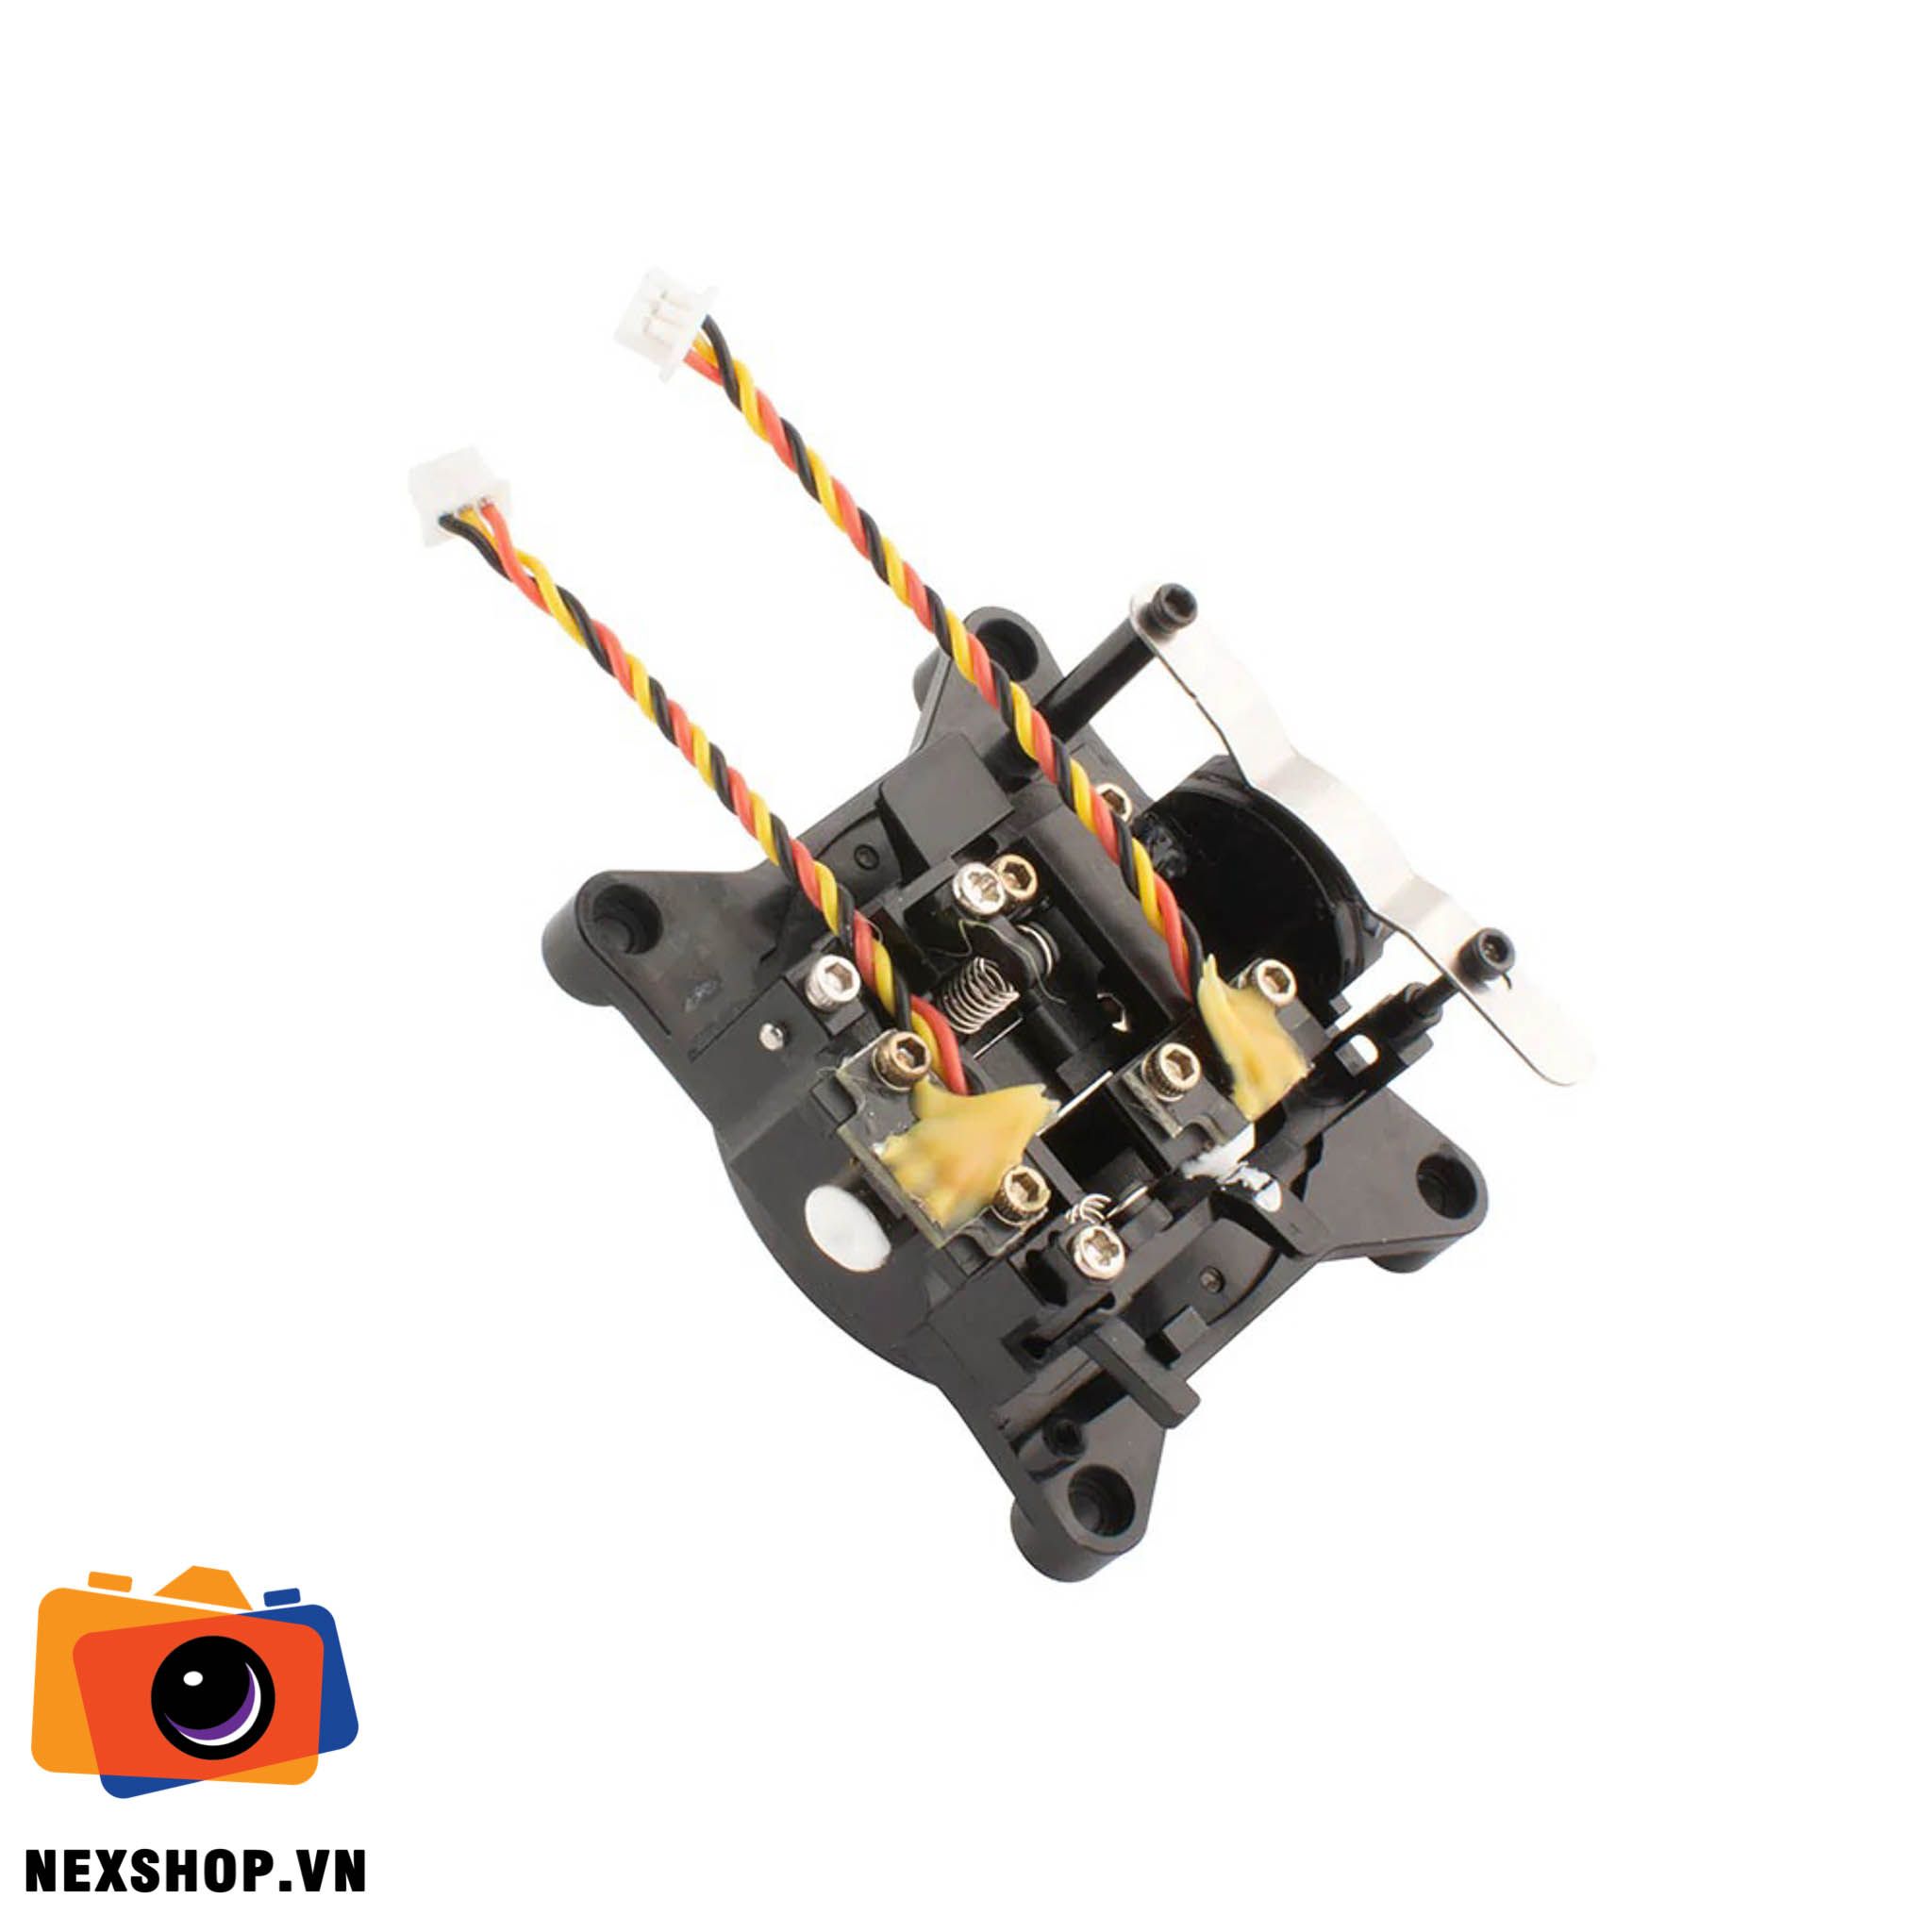
- Non contact hall sensors for accurate control inputs and precise centering.
- Quad precision bearings for unparalleled stick feel.
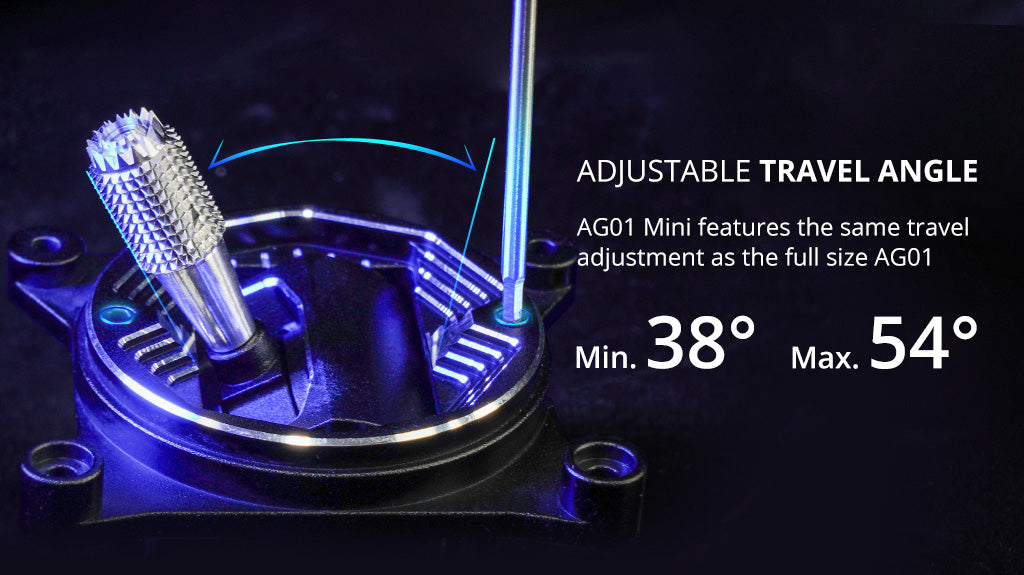
- Adjustable vertical travel angle (Min. 38°, Max. 54°).
- Custom designed for RadioMaster Zorro & TX12.
Specifications
- Name: AG01 Mini CNC Hall Gimbal
- Sensor type: Hall Sensor
- Working voltage: DC 3.3V
- Linearity: Real-time (No delay)
- Adjustable vertical travel range: 38°—54°
- Self-centering adjustment : Yes
- Easy mode adjustment
- Adjustable tension : Yes
- Quad bearing: Yes
- Temperature range: -20°C-85°C
- Size: 49*42*48mm
- Weight: 42g(±0.3g)
Review by Nick Burns
AG01 MINI Key Features


Installation for Zorro & TX12
The AG01 Mini gimbals are shipped as self-centering by default and are compatible with both the Zorro and TX12 Radios.
FOR ZORRO
The Zorro radio is configured as Mode 1 or Mode 2 by the screws mounted in the rear case of the radio. Both gimbals should be installed in self-centering configuration (as default out of the box) in the Zorro radio. Once the radio is re-assembled the screws in the rear case of the Zorro will set the throttle gimbal.
FOR TX12
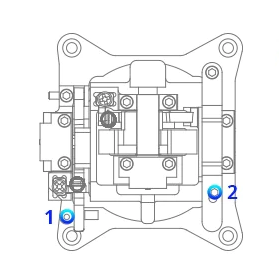
One gimbal must be set as throttle and one as self-centering before installation in the radio.
1. Use the included screw (see parts bag) to hold down the centering lever and set the gimbal as a throttle gimbal.
2. Adjust the throttle tension bar until the desired tension is achieved.
How to install AG01 MINI on Zorro
It’s not the easiest job to install these gimbals in the Zorro, but it’s doable with a little patience and planning. Thanks to Oscar Liang for the detailed graphic installation tutorial.
- 1. Make one of the gimbals your throttle stick by disabling self centering. To do this, simply insert this black screw at the corner. This is how you switch between Mode 1 and Mode 2 as well.

- 2. Take the screws out on the back of the radio. There are 8 screws as circled in the following picture.

- 3. Gently remove the back housing, beware of the two ribbon cables connected to the PCB, you need to unplug them first.

- 4. After taking the back housing off, take some pictures of how the cables are connected to the PCB, because you will be disconnecting all of them.

- 5. One trick I used was to mark them with written stickers with words like “Top Left”, “Bottom Right” etc. according to which connector they were connected to.

- 6. Then unplug all the ribbon cables, there are 14 of them! You also need to remove the four screws on the PCB before you can pull the PCB away from the radio. There’s an extra ribbon cable on the back of the PCB that needs unplugging as you lift it up. With the PCB removed, you now have access to the gimbals. Each gimbal is held in place by 4 screws.

- 7. Remove the stock gimbals, but leave the original metal plate in place.

- 8. Install the new AG01 mini gimbals, and put the PCB back in place and plug in all the ribbon cables. Put the back housing back on.

- 9. Once you are done, the first thing to do is to calibrate the gimbals by holding down the “SYS” key, press “Page >” a few times until you get to the “Hardware” page, and you should see “Calibration”.

Click here for original link: https://oscarliang.com/radiomaster-ag01-mini-gimbals/
Size

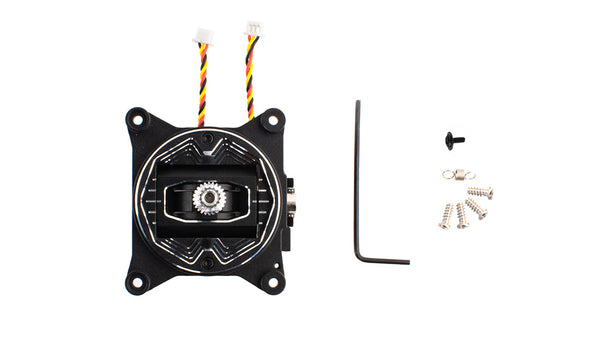
Package
- 1 * AG01 Mini Hall CNC Gimbal
- 1 * Hex tool
- 4 * Installation screw
- 1 * Spare normal tension spring
- 1 * Throttle tension screw
OR
- 2 * AG01 Mini Hall CNC Gimbal
- 2 * Hex tool
- 8 * Installation screw
- 2 * Spare normal tension spring
- 2 * Throttle tension screw